With all of the hair extension terms you might find yourself getting confused. All forms of the following hair extensions are wonderful in their own way but they also are called different names because they are all slightly different. Here are a few explanations that will hopefully clear up any confusion about fusion hair extensions.
What is the difference between hot fusion, cold fusion and skin wefts?
Hot Fusion Hair Extensions
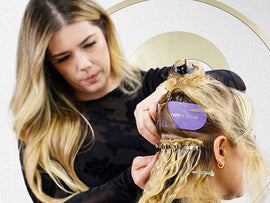
Hot fusion is a strand method attached at the keratin based tips with a heating element. Hot fusion hair extensions are also known as keratin hair extensions and tip hair extensions. They are applied to your natural hair in small ‘bundles’ with a heated keratin adhesive. Since your hair is already made of 90% keratin (a protein compound,) this method is actually more gentle on hair than regular glue is.
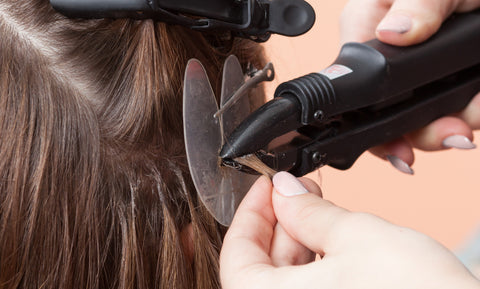
Hot fusion hair extensions last anywhere from 2-4 months and take about 2 hours to install. With hot fusion hair extensions you can do a variety of hair styles including updos and styling your hair down.
Cold Fusion Hair Extensions
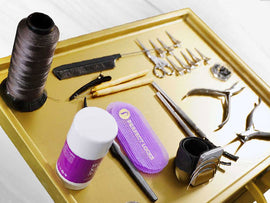
Cold fusion is also known as micro link, i-tip extensions. It is another strand method that is applied by weaving small sections of hair through a micro link tube. To install you use weaving tools and pliers to weave the small sections of hair.
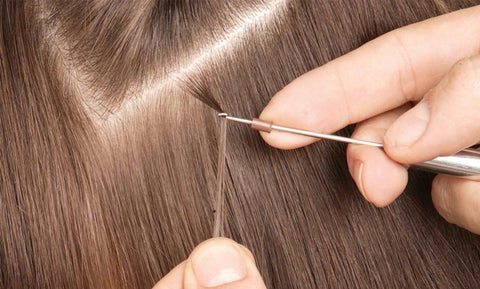
Cold hair fusion extensions were created to be a gentle alternative than keratin hot fusion hair extensions. Cold fusion hair extensions does not use heat to apply the hair extensions to your hair. This is a no heat hair extensions method that bonds hair via a ultra sound applicator. It is a more updated extensions method that was created to be a lot more gentle on your natural hair than hot fusion.
Skin Weft Hair Extensions
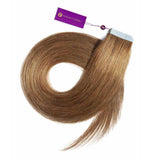
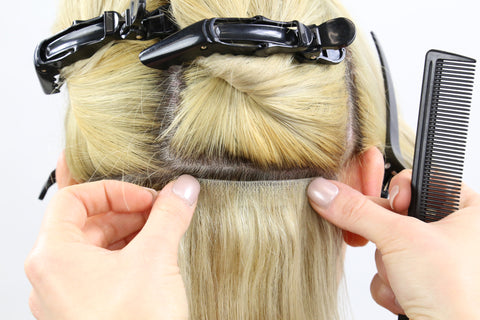
A skin weft is also known as a tape in method which uses custom cut sections of hair that are sandwiched into sections of hair that are attached to your scalp with double sided tape or glue. Learn all about skin wefts in our article about skin wefts.
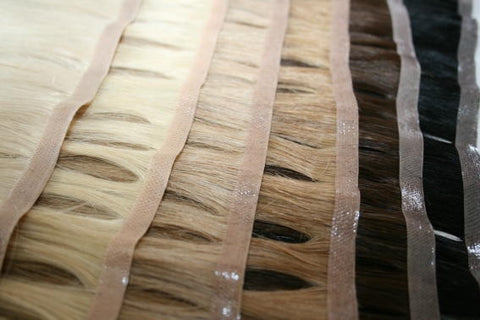
Skin wefted human hair extensions are some of the most undetectable hair extension techniques available in the hair and beauty market today. They are also known as seamless wefts in the general market. Understanding more about skin wefts and how to successfully install yours will help you realize that they actually are very easy to apply.
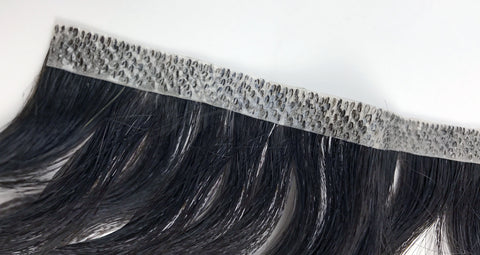
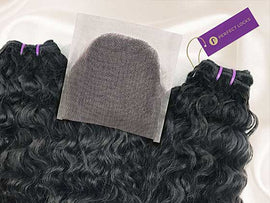
After the skin weft is in your hair, your hair will look beautiful with new extensions to style. Skin Weft Hair Extensions are available on our site as well as curly and wavy wefts. Before we give you detailed instructions on how to install your skin weft, you’ll also need to know what you will specifically need to install your skin wefted Indian hair extensions.
What You’ll Need:
Skin Weft, Comb, Hair Clips, Scissors, Hair Glue
Instructions:
1. First determine where you would like to install your skin weft.
It’s important to understand that there is a “red zone” portion of your hair and this portion is actually common sense. It is the top layer of hair on your head. You won’t want to install the skin wefts here because they will show! Using your fingers, pull up top section of your hair using the back of your ears as a general guidance line. Clip that portion of your hair on top of your hair, successfully separating it from the bottom section of your hair.
2. After you have separated the appropriate hair and it’s time to apply your weft, start from the bottom of your hair and work your way up.
But before you start installing, find the base of your scalp or the bottom section of your hair. At the base of your scalp be sure to leave a layer of hair that is about 1 inch in length. Now that you have another section of hair created, make sure to keep the separated hair that’s on top away from your middle section. Use a band or clip to keep it secured on top of your head. Now find a comb and form a straight horizontal line across your scalp’s head of hair. You will be placing your weft within the part in between your top layer of hair and middle layer of hair where your scalp is visible.
3. Now it’s time to cut your weft to the appropriate size.
Usually the polyurethane strip that attaches to the hair on your scalp is a couple of feet long. You will need to adjust the length accordingly. Cut the weft to the size of the section on your head that you created. Leave about a half an inch on both sides of the weft.
4. Now is the time to apply the glue to your hair weft.
Apply hair glue to the polyurethane strip. For installing skin wefts some people suggest using a combination of Liquid Gold Super Bond glue and toupee tape. After setting out your glue or a combination of tape and glue on a near by flat surface, place the cut-to-size weft on a flat surface too. Place the side of the polyurethane strip that has no hair facing upward on the surface. Squeeze the glue bottle to apply a consistent line of glue from one side of the polyurethane strip to the other.
Want to learn the rest of the steps on how to install your skin weft? You’ll have to catch up on our Friday post. There are so many steps we decided to space out the instructions on two separate posts so that you don’t get overwhelmed. Overall installing hair wefts is moderately easy, but reading through detailed instructions will help you be confident when you do thoroughly install them.
If you’ve already installed skin wefted hair extensions, reading over our instructions may give you some additional tips that you may have not thought of before. Wefts can stay in your hair up to two months so installing them securely and safely on your scalp will keep them in for an even longer period of time.
In Conclusion
So after reading over the descriptions which do you feel is best for you? If you feel that hot or cold fusion will work well in your hair, you can order an i-tip or a u-tip on our website under Custom Fusion Hair. You also can order Skin Wefted Hair on our website as well.
Enjoy your hair extensions and we can’t wait to see your new hair styles and what you like the best!


