Full Video TranscriptStep 1: Preparing for Installation
Before you start, make sure you’ve ordered enough hair to achieve your desired look.
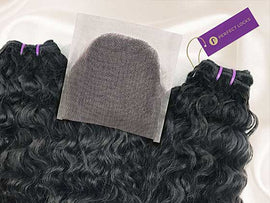
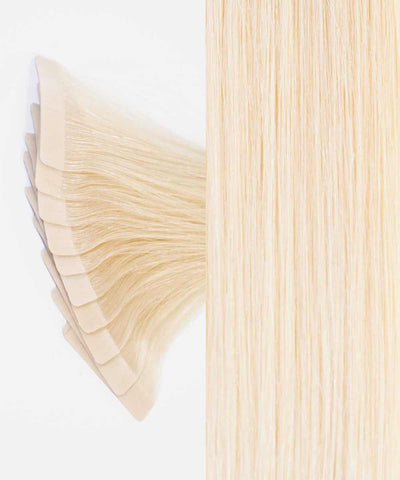
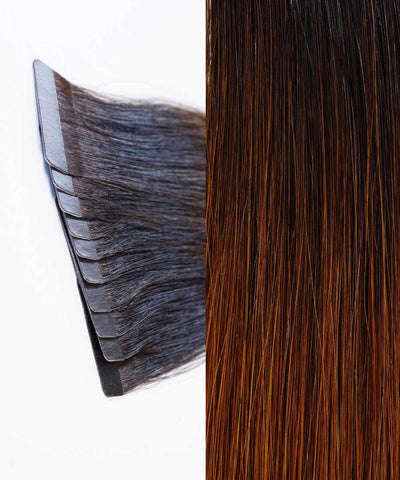
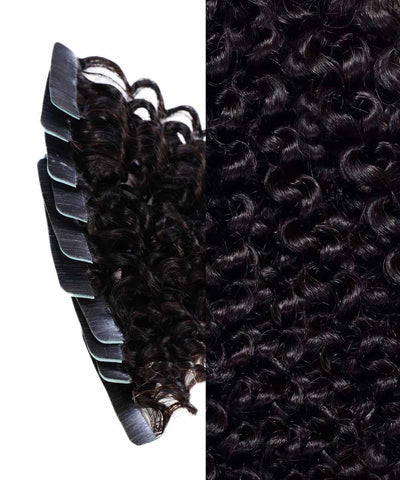
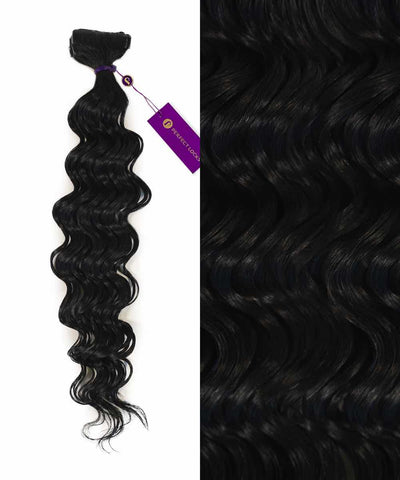
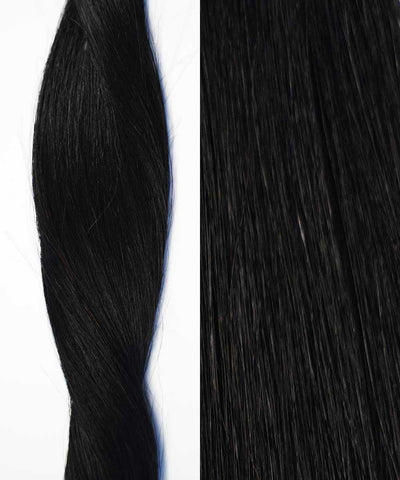
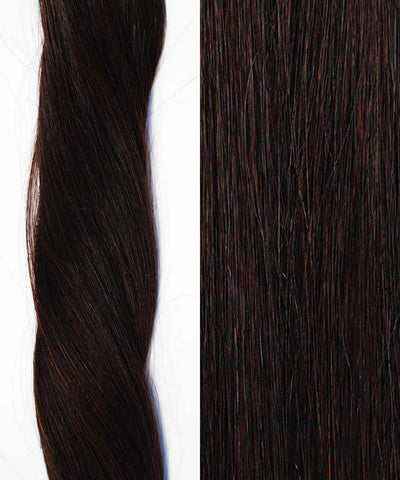
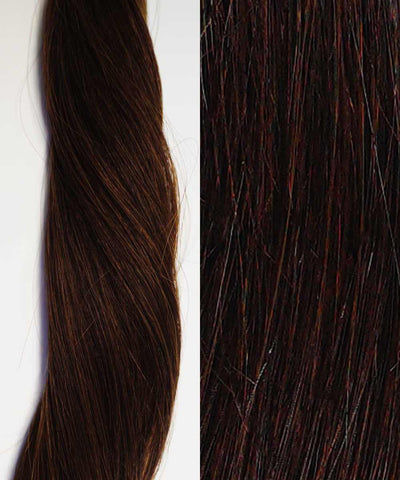
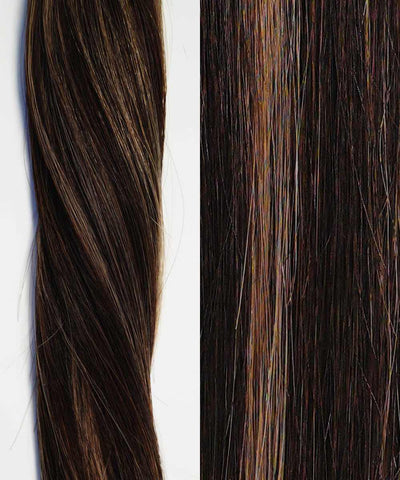
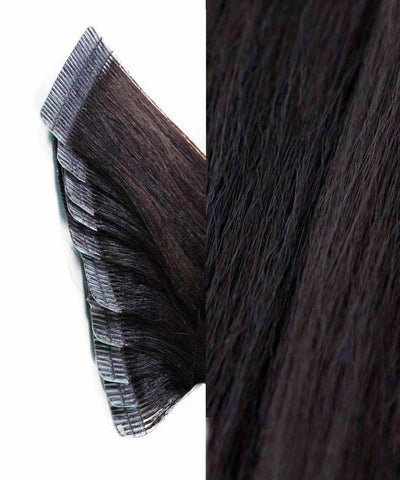
- Each set of tape-in hair extensions includes 5 sandwiches per pack (10 pieces total).
- Depending on your volume needs, you may require 3–4 packs or even up to 6 packs for maximum fullness.
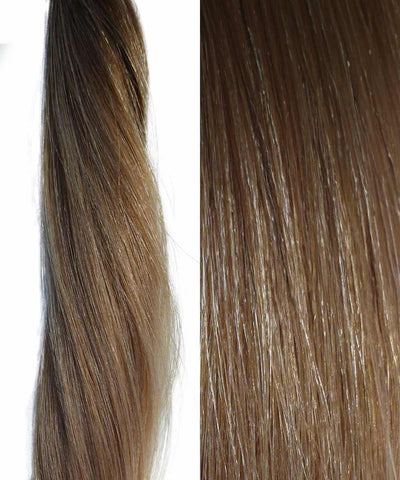
- Our model, Morgan, wanted both length and extra volume, so we installed seven packs in total.
Step 2: Preparing the Hair
For a secure bond, hair must be clean and product-free. Avoid:
❌ Conditioner
❌ Styling products
❌ Residual hair oils
Step 3: Sectioning the Hair
- Start at the back of the head, clipping and cleanly sectioning the hair.
- Place the first tape-in two fingers up from the bottom of the hairline and two fingers in from the sides.
- Ensure each section is the same width as the tape for proper blending.
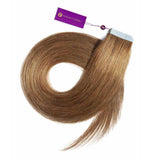
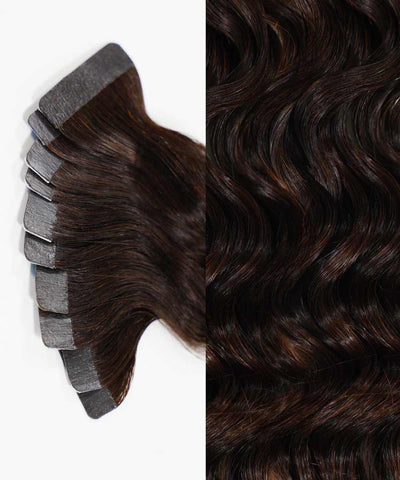
Step 4: Applying the Tape-In Extensions
- Remove the adhesive backing.
- Place the first tape-in ¼ inch from the scalp under the section.
- Place the second tape-in directly on top, sandwiching the natural hair between the two pieces.
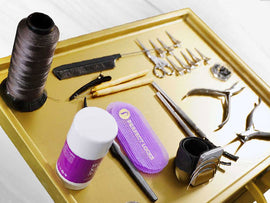
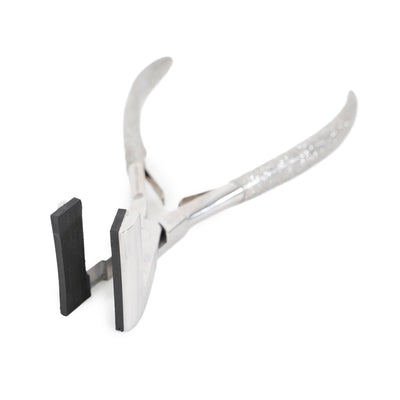
- Crimp with pliers or tap lightly with a warm flat iron to activate the bond.
Step 5: Proper Placement for a Natural Look
- Keep tape-ins perfectly horizontal to avoid tension.
- Use a brick-layer technique when adding rows to create a natural, staggered blend.
- On the third row, start placing the tape-ins in between the two below it.
Step 6: Blending & Finishing
- Use a Perfect Locks Loop Brush to gently detangle and blend the extensions.
- Ensure proper weight distribution so the tape-ins stay secure without straining the hair.
- For fine hair, place tape-ins at least two fingers from the front hairline to ensure they remain hidden.
Step 7: Professional Installation Recommended
Tape-ins are easy for anyone to install, but for the best results, we recommend seeing a certified professional hairstylist.
Find a Perfect Locks Certified Stylist near you: Salon Locator
Become a certified Pro Stylist Today: Explore Education